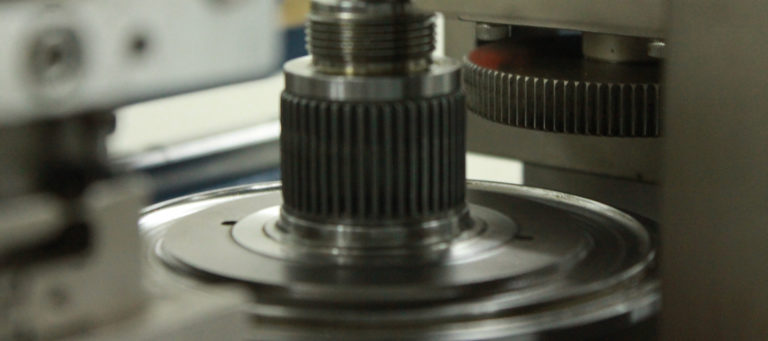
Gears are preferred mechanical devices in many applications to transmit motion. Gears can transmit motion without changing velocity. They are strong enough to bear a specified load, and they work silently with the least friction as opposed to other devices such as belts. Gears are used in diverse applications ranging from oil and gas to the automobile industry. There are various types of gears, and they have their own specific terminologies.
This blog illustrates important gear terminology, and a few terms used in gear inspection.

Generic Gear Terminology
Diameter pitch: The number of teeth per inch on a gear.
Pitch circle: an imaginary circle that will contact the pith circle of another gear when in the mesh. The linear velocity of two mating gears is the same at pitch circle.
Addendum: The radial distance from the pitch circle to the top of the gear tooth.
Dedendum: The distance between the pitch circle and the bottom of the gear tooth.
Pitch point: The point where gear teeth make contact when they rotate
Backlash: the clearance between the teeth of two mating gears. This space allows gears to keep in touch without getting stuck with each other, and also provides space for lubricants Center distance (operating) is the shortest distance between non-intersecting axes. It is measured along the mutual perpendicular to the axes, called the line of centers. It applies to spur gears, parallel axis or crossed axis helical gears, and worm gearing.
Gear Inspection Terminology
Master gear: A gear used to check other gears for errors
Total composite error (TCE): Measurement of error between two adjacent teeth of a gear.
Variation of tooth thickness: Difference between the larges and the smallest tooth thickness of a gear.
Gear ratio: The number of revolutions a driving gear of gear train much makes, per revolution of the gear being driven. In terms of automobiles, this means the number of revolutions the engine makes per revolution of the rear wheel.
Pitch deviation: The difference between the most positive and the most negative index value of all teeth.
Total profile deviation: Distance between two nominal profiles enclosed within the profile test range
Diameter over balls: Balls are used to measure gear diameter. Pins or balls are placed diametrically against each other and measurement is done with a micrometre. With this method, you can learn about gear size as well as tooth thickness. When the gear has an even number of teeth, the measurement is ‘between two balls. when it’s an odd number of teeth it is diameter over one ball.
Conclusion
Gears are used in many critical applications to control the speed and momentum of machines. Hence, they need to be meticulously inspected for quality and competence. CalibroMeasure works to bring more accuracy and efficiency to gear inspection methods. We possess proven expertise in designing gear inspection automation solutions that enable the inspection of multiple perimeters of gears on a single machine. If you want to bring better speed, efficiency, and reliability to the in-process as well as final gear inspection process, write to us at sales@calibromeasure.in or give us a call at +918975767905/+919822032062


