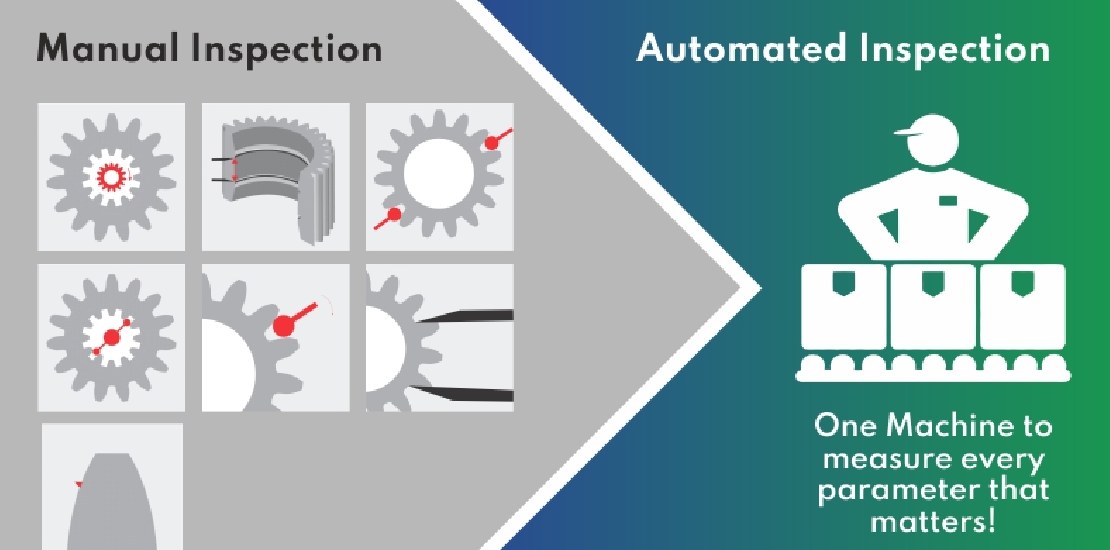
Gear Inspection method – How do you plan to beat the shortage of labour?
A manual gear inspection process relies heavily on contract labour. However, finding reliable and trained contract labour is a challenge for many businesses. Issues such as attrition, migration and human errors affect the quality and reliability of inspection done by contract labour. Plugging this manpower gap while improving the quality and efficiency of your final gear inspection process is vital.
Imagine one machine which can inspect multiple gears for multi gauging parameters.
As the machine generates digital data, tasks such as TCE, TTE and inspection of other CTQs become easier and more accurate.
GearMate® brings brings this efficiency and repeatability to gear inspection while giving you the ability to inspect any CTQ parameters along with TCE/ TTE inspection.
GearMate® enables you to inspect gears on multi gauging parameters.
- Span measurement (attribute/ quantified type)
- Diameter Over Ball (DOB/MOT) -(attribute/ quantified type)
- Center distance
- PCD runout of splines/ gear
- Internal Diameter
- Outer Diameter
- Various runouts
- Lengths
- Groove width & groove distance
- Diameter Under Ball (DUB)
- TCE/TTE of internal gears
Automating your final inspection process with GearMate® means higher savings due to drastic manpower reduction, while achieving zero PPM rejection. To know more about how the capabilities of GearMate® could help you grow faster with less manpower, write to us at connect@calibromeasure.com
To see the product in action, drop a Whatsapp message to +91 9822032062 and we will send you a video!


