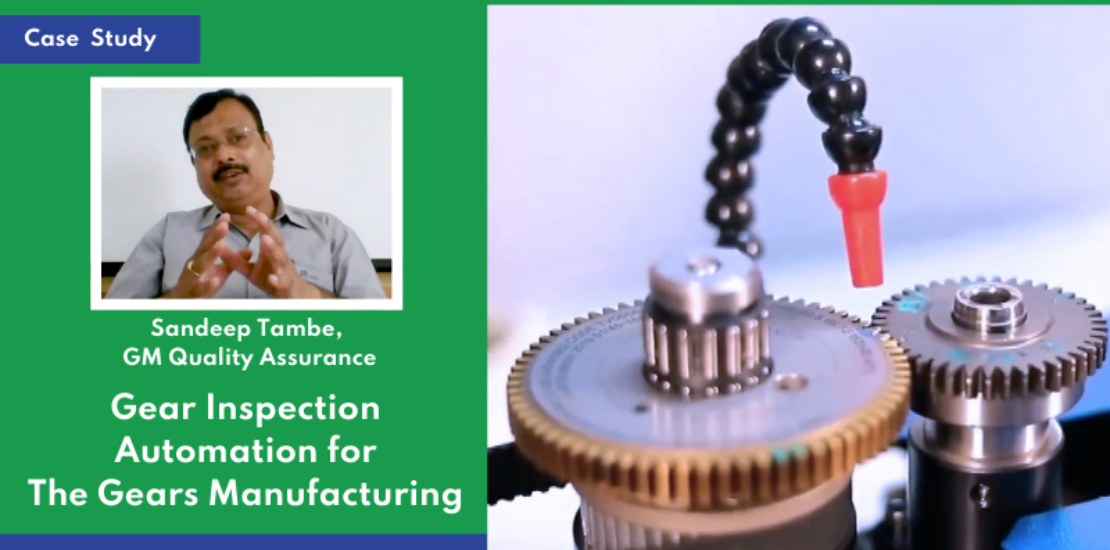
The ongoing shift in the industry towards greener and more mechanized production methods is leading to accuracy and reliability of inspection process becoming the key requirement. As a company driven by technology and innovation, CalibroMeasure is working to help gear manufacturers around India integrate the best mechanized gear inspection solutions into their process.
As a part of our knowledge upgrade initiative we spoke to Sandeep Tambe of Hi Tech Gears to understand how automation in gear inspection can boost business amidst the post-Covid economic boom.
About Hi Tech Gears
The Hi Tech gears is a manufacturer of world class automobile components catering to some of the world’s leading automobile manufacturers. The company exports engine and transmission components in line with stringent international standards to customers around the world.
What are the key challenges that you face in relation to gear inspection?
As a company that supplies to OEMs, managing customer expectations is the most pressing challenge we face. Export customers have pretty stringent requirements, and there is a whole list of parameters which need to be verified from our side. Plus, the customers are very fussy about the correlation. For example, their inspection method and our inspection method should be same. At least, they should be able to measure the same parameters that we are measuring.
Achieving this accuracy and similarity in inspection process by manual methods was quite time-consuming, which led us to automate the gear inspection process.
How automating gear inspection has resolved issues related to customer expectations?
When the customers see an accurate and quality inspection process in place, their confidence in us grows. When they visited us, they saw our inspection process and our feedback mechanism. The moment a fault is found, the piece goes back for processing. All of this has resulted in very good response from the customers
How has automatic gear inspection impacted your overall process?
Firstly, he introduction of equipment such as MeasureMate has made the inspection of trickier parameters quite easier, and the cycle has come down drastically from 2-3 minutes (180 secods) to just 36 seconds per piece without adding any additional hassle. Also, with equipment such as GearMate, we have a progressive mechanism in place.
Does automating gear inspection help improve efficiency and reduce costs?
In case of equipment such as GearMate, one machine gives the measurement for multiple parameters including ID measurement, thickness, DoB, gear rolling. Additionally, there is a change in the rework cycle also. For example, in case there is an issue in rolling like a nick or dent, we can run that part again, and the machine will exactly identify which tooth has the issue so that reworking of that part becomes easier.
Secondly, process reliability has been tremendously improved. For instance, if gear thickness is undersized or oversized, the machine will not operate unless the defective part is put into a specific plinth nominated, identified, for this kind of defect.
Lastly, due to automation of the inspection process, the manual intervention is less, the number of people are less. This saves space as well as people and improves productivity.
What would you like to say about service and support from CalibroMeasure?
CalibroMeasure is a professional team with a personal touch.


