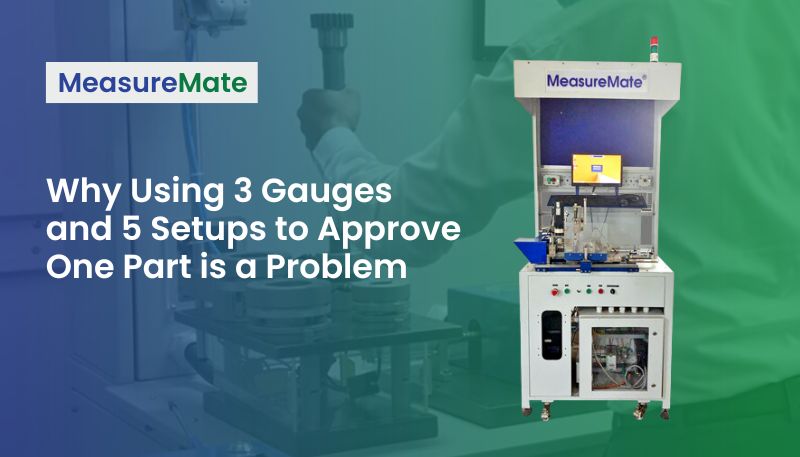
In many precision manufacturing environments, approving a single critical component involves multiple instruments, repeated setups, and excessive handling. While this may appear thorough, it actually introduces inefficiencies, inconsistencies, and hidden costs.
The Typical Scenario
A component needs to meet three or more dimensional requirements — say roundness, bore diameter, and runout. Here’s how inspection is usually handled:
Gauge 1: Roundness is checked using a dial gauge
Gauge 2: Bore diameter is measured separately using a bore gauge
Gauge 3: Runout is measured on a different setup using a run out fixture/gauge or CMM
Each measurement requires a fresh setup, realignment, and data capture
This process results in:
Multiple touchpoints for the same part
Time lost in loading, aligning, and measuring
High operator dependency
No consolidated measurement data
Even if each gauge is accurate, the overall reliability of the inspection is compromised due to lack of consistency and increased handling variation.
Technical Drawbacks of Multiple Gauging, Multi-Setup Inspection
1. Inconsistent Reference
Each setup may use a different alignment or datum. This introduces variability, especially in components with tight tolerances.
2. Cumulative Handling Error
Every manual transfer adds risk of misalignment, impacting final results.
3. Low Repeatability
Different operators, tool wear, and part positioning all affect repeatability across setups.
4. Fragmented Data
Measurement data gets logged manually or in isolated systems, limiting traceability and correlation.
5. Inefficient Cycle Time
The total time taken for inspection increases, affecting throughput and takt time targets.
A More Efficient Alternative: Multi-Gauging
A custom-built multi-gauging system eliminates the need for multiple gauges and setups.
At CalibroMeasure, we design systems that consolidate all necessary dimensional checks into a single fixture. Here’s what that delivers:
One setup for all key parameters
Integrated gauging stations for parallel or sequential checks
Micron-level repeatability
Live data transfer to your SPC/QMS systems
Reduced operator dependency
Faster inspection with lower rejection risk
This approach is particularly valuable in high-mix, medium-to-high volume environments where consistency, reliability, and speed are critical.
Why It Matters
In today’s manufacturing landscape, precision parts require precision inspection but also efficient and traceable processes.
Continuing with legacy inspection methods only increases effort, risk, and cost.
Moving to a multi-gauging solution ensures that your inspection process matches the quality standards of your product without wasting time or resources. It also helps control the machining process through data.
Need help evaluating your current inspection setup?
We can help you identify inefficiencies and design a system tailored to your part and process. Moreover, we can help bring standard room inspections on to the shopfloor converting sample inspection to 100% inspection!
Reach out to CalibroMeasure today.


