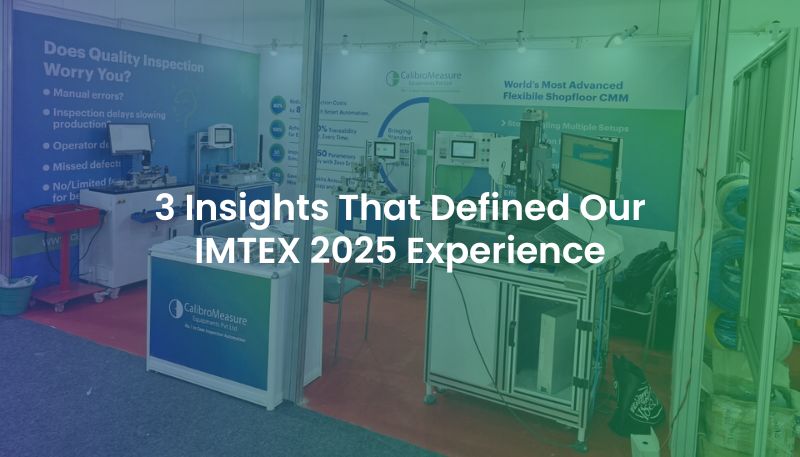
The past seven days at IMTEX 2025 have been a whirlwind!! Busy, exciting, and filled with energy. We’ve met so many incredible people, shared ideas, showcased our solutions, and had meaningful conversations.
But as the exhibition wrapped up and we finally had a moment to sit back and reflect, it wasn’t the products or the technology that stood out the most. It was the insights, the real stories that emerged from these conversations and how they’ve shaped our view of the future. Here are three things we learned that we couldn’t stop thinking about:
“Good Enough” Is Starting to Feel Like a Thing of the Past
A few years ago, precision component manufacturers were comfortable with handheld gauges tools that simply told you if the component was okay or not, without much insight into why. There were no recorded data points, no room for deep analysis. This left a lot of room for human error, and sometimes, a “not okay” component slipped through the cracks and reached the customer.
Fast forward to today, and the industry is making a bold shift.
Manufacturers are moving toward quantified inspections, where they can track 100% of the data, gain real-time insights, and eliminate any chances of error. It’s no longer just about passing or failing; it’s about understanding the process, the metrics, and continuously improving. We were humbled to see our GaugeMerge solution being appreciated for how it helps manufacturers transition to data-driven, real-time inspection while keeping their existing inspection fixtures (Integrating)
The Moment We Realized 100% Inspection Was the Only Way Forward
One of the most striking things we observed was the evolution in industries that deal with dimensionally critical parts, especially aerospace. These industries often deal with tolerances as tight as 10-15 microns, and traditionally, they relied on comparator measurements. But as we spoke to more people, it became clear that comparator measurements were no longer cutting it. They couldn’t yield the desired results, and they certainly didn’t meet the speed requirements.
Today, the demand is shifting toward 100% absolute inspection, and it’s exciting to witness. Companies are looking for reliable, accurate solutions that can handle the most demanding tolerances. Our CalibroFlexGauge solution was recognized for meeting this growing demand and offering an inspection solution that aligns with where the future is heading.
Change is Uncomfortable, but It’s What Everyone’s Talking About
The third insight was more of a vibe, a feeling that was palpable in every corner of the exhibition hall. The industry is upbeat, full of hope and optimism. Manufacturers are no longer afraid to take risks and step outside of traditional inspection methodologies. They’re ready to embrace new technologies, new approaches, and new ways of working.
We could feel the energy in the air, people are willing to listen, to learn, and to make the leap toward Industry 4.0. It was inspiring to see that shift in attitude and to know that CalibroMeasure is in the right place at the right time, helping to lead that transformation.
Inspection, often seen as a less valuable step, is now being recognized as an essential part of the process. The debate is shifting: it’s not just about making accurate components it’s about understanding and improving every part of the process.
Solutions Are What People Need, Not Just Products
Perhaps the most profound realization came from the conversations we had with customers. We’ve noticed a shift in the way people approach the inspection industry. They’re not just looking for a multigauging manufacturer anymore, they’re looking for solution providers who can truly understand their pain points and deliver customized, meaningful solutions.
Our team was appreciated for having that solution-driven mindset, for being willing to listen, adapt, and provide tailored solutions that actually make a difference on the shop floor. We were glad to hear how our approach to offering real solutions was recognized and appreciated by those who understand that it’s not just about products, but about tackling the core challenges of their operations.
Reflecting on IMTEX 2025, it’s clear that the future of manufacturing is not just about technology, it’s about relationships, trust, and embracing new ways of thinking. We’re deeply grateful for all the conversations and insights we gained. As we move forward, we carry with us a fresh perspective, a renewed sense of purpose, and an even stronger commitment to providing real solutions that help our customers succeed.
We’re more excited than ever to be part of this ongoing transformation.


